Before installing the Jupyter notebook using pip we will briefly discuss what it is and what it is used for. Jupyter notebook is an open-source, web-based IDE used to write, document, and execution of code. It is used for various languages that support data analyses like python, R, Julia, Scala, etc.
First, you need to check two things before installing the Jupyter notebook:
- Check python
- Check pip
1. Check python
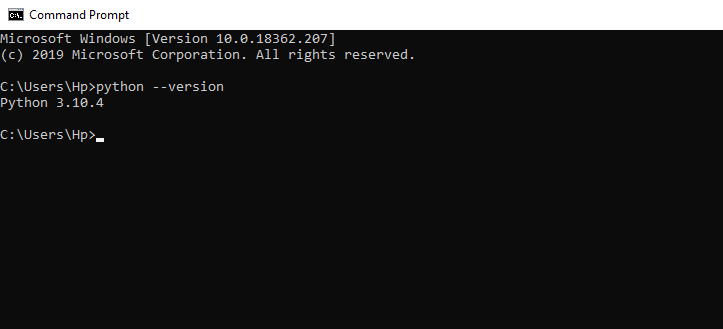
You need to check about the python version installed on your pc. It can be checked by using the command listed below. If python is not installed, make sure to install it first by following this link.
Open the command prompt and write the following command.
Python –version
2. Check pip
Pip is a package management system used to install python packages during any software development. Before installing Jupyter notebook make sure the current version of pip is installed on your system.
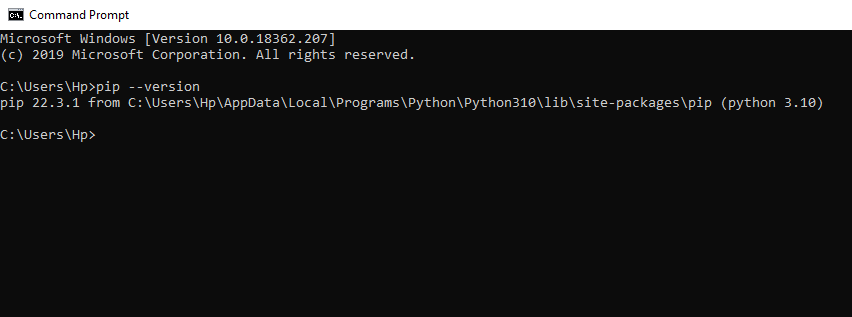
If you are using python version 3.4 or later, by default pip is part of python. You can check the pip version by using the following command.
Pip --version
If pip is not installed on your system follow this pip installation tutorial.
install Jupyter notebook using pip
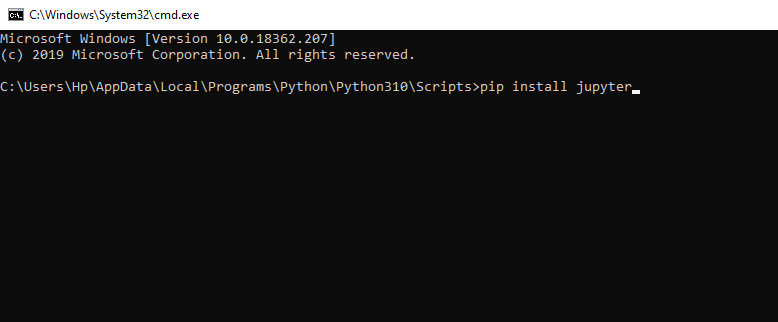
After successfully installing python and pip on your system you need to track the script folder within the python path. It may vary from system to system. Below is the path to reach the script folder.
C:\Users\Hp\AppData\Local\Programs\Python\Python310\ScriptsAfter reaching there, select all in the path bar and write cmd, and press enter. The command prompt is opened in front of you with the above path. Write the following command to install Jupyter notebook.
Pip install Jupyter
After installation is complete it means the Jupyter notebook is successfully installed on your system. You need to open it by writing the following command.
Jupyter notebookA web-based Jupyter notebook is opened on the default browser.
